


Carving pumpkins has long been a cherished tradition during the fall season. As the leaves change color and the scent of cinnamon fills the air, the time-honored art of transforming humble gourds into enchanting works of art captures our imaginations.
But in the pursuit of the perfect pumpkin carving, it's easy to become overwhelmed by the possibilities and the intricacies of the task. Fear not, for within these words lie the keys to unlock your carving potential. Today, we delve into the realm of easy and effective tips that will elevate your pumpkin carving game to new heights.
Prepare to be inspired, as we embark on a journey of creativity and craftsmanship that will leave you with a masterpiece unlike any other. Are you ready to carve like never before?
Choose the Right Pumpkin

The first step in carving the perfect pumpkin is to choose the right one. Skip the misshapen and bruised specimens and opt for a pumpkin that is firm and evenly colored. Look for one with a smooth surface, as this will make carving easier and more precise. Remember, the shape and size of your pumpkin will dictate the design possibilities, so choose accordingly.
Prepare Your Work Area
Carving a pumpkin can get messy, so it's important to prepare your work area beforehand. Lay down some newspaper or a plastic tablecloth to catch any stray pumpkin seeds or pulp. This not only makes cleanup a breeze but also helps to keep your work surface clean and uncluttered.
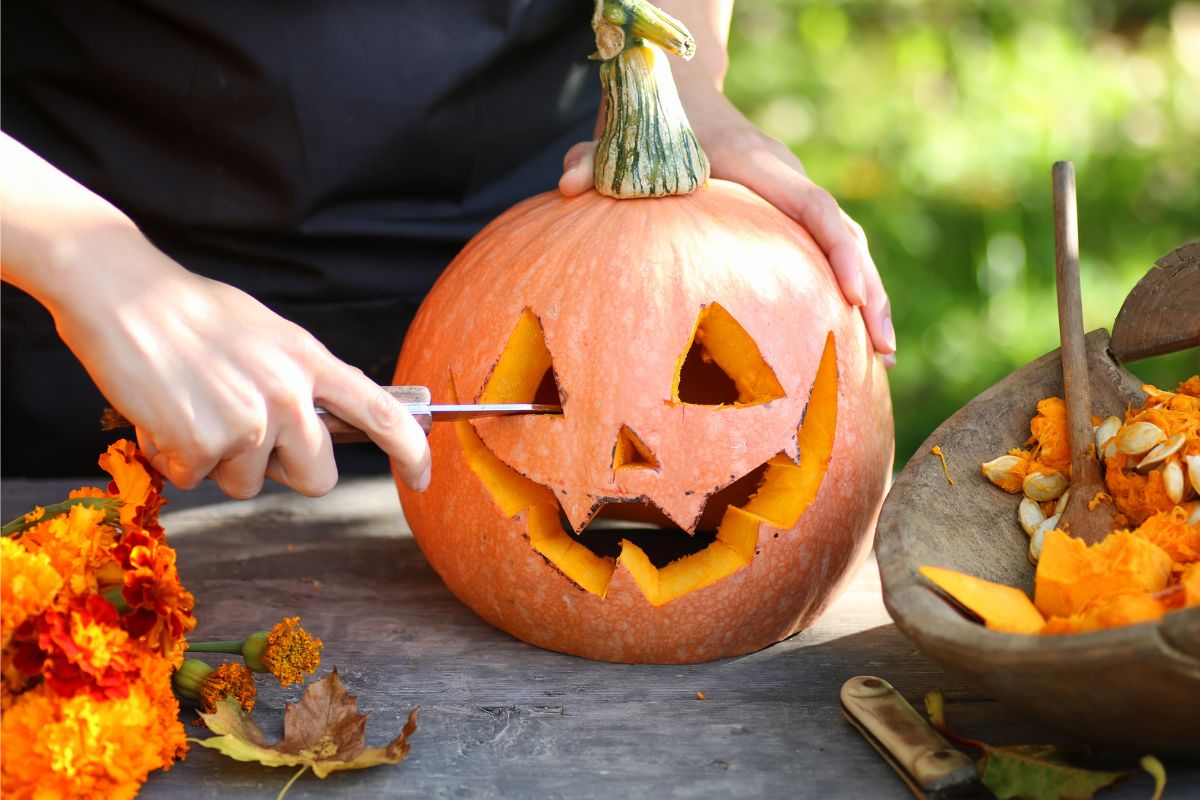
Use the Right Tools
While some may argue that a simple kitchen knife will do the trick, true pumpkin carving enthusiasts know that using the right tools can make all the difference. Invest in a set of pumpkin carving tools, which typically include a serrated scoop for removing the seeds and pulp, as well as various sized saws for carving intricate designs. These tools are specifically designed to make the carving process easier and safer.
Start With a Template
For beginners or those looking for a bit of guidance, starting with a template can be extremely helpful. There are countless free pumpkin carving templates available online, ranging from spooky faces to intricate patterns. Simply print out your chosen template, tape it to your pumpkin, and use a pencil or a pin to trace the design onto the pumpkin's surface. Once you've traced the design, remove the template and you're ready to start carving.
Scoop Out the Seeds and Pulp
Before you begin carving, it's essential to scoop out the seeds and pulp from the inside of your pumpkin. This not only ensures a clean canvas for your design but also prevents the pumpkin from rotting prematurely. Use the serrated scoop from your pumpkin carving tools to remove the seeds and pulp, and discard them or save them for roasting later. Don't forget to scrape the inside walls of the pumpkin to create a smooth surface.
Take Your Time and Work in Sections
Pumpkin carving is a labor of love, so don't rush through it. Take your time and work on your design in sections. Start by carving the outline and then gradually work your way towards the center, adding detail and depth as you go. This method allows for greater precision and control, resulting in a more polished and professional-looking pumpkin.